Question:
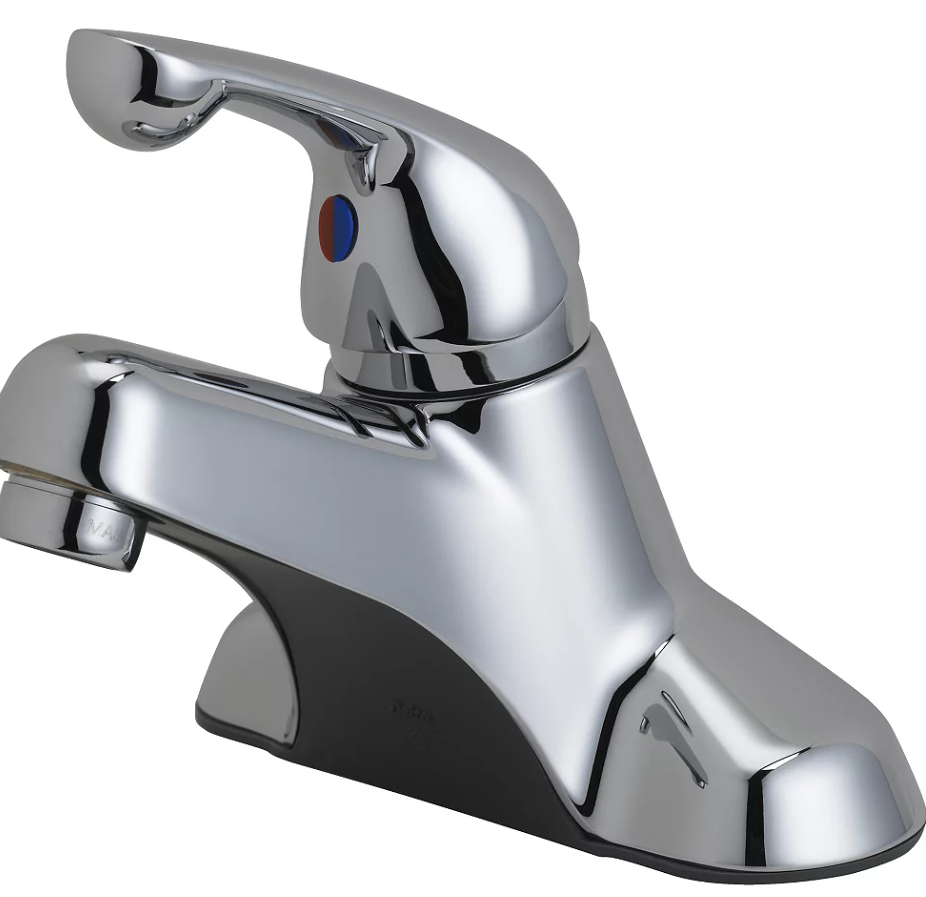
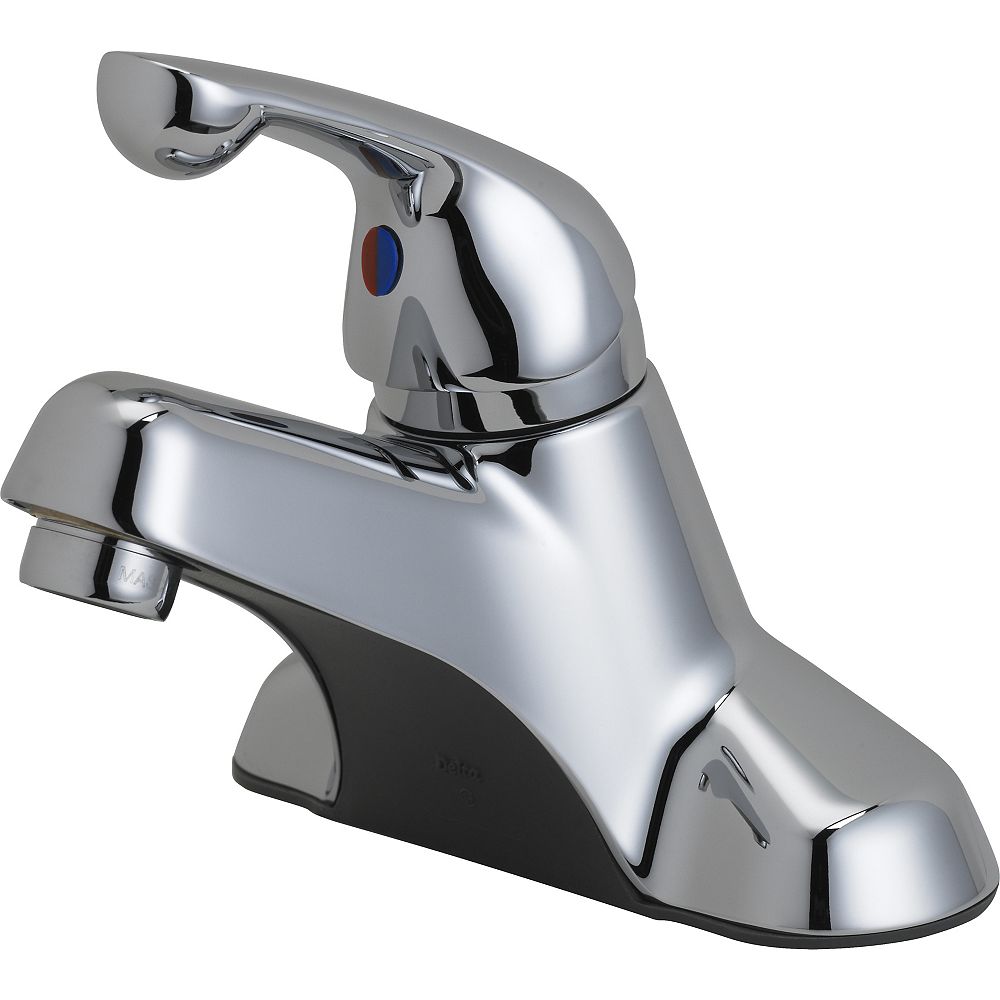
My bathroom faucet was installed six years ago. Recently, it became difficult to turn on and off, and now it makes a horrible creaking sound. I found some advice online about using silicone lubricant on the o-rings in the cartridge, but I couldn’t find anything for my exact model. I managed to remove the handle, but I can’t seem to figure out how to get the cartridge out. I watched some videos where they removed the brushed nickel collar or dome, but I can’t budge it. I’ve tried pulling the cartridge straight up, but it won’t move. The cartridge turns but is stiff and creaky. Any advice on how to proceed? I’m new to DIY repairs, but I’ve learned a lot from YouTube and hoped this was something I could fix myself. Thanks!
Answer:
It sounds like you’re on the right track with lubricating the o-rings, but getting the cartridge out can be tricky. Here’s a step-by-step guide to help you proceed:
-
Turn off the water supply: Before doing anything, make sure the water supply to the faucet is turned off to avoid any mess.
-
Remove the handle and collar: You mentioned that the handle is off, which is great. For the collar or dome, try using a pair of pliers or a pipe wrench to grip the collar firmly. Be gentle to avoid damaging the finish. Sometimes, a bit of heat (from a hairdryer) can loosen stuck parts by expanding the metal.
-
Loosen the cartridge: Once the collar is off, try turning the cartridge with pliers or a cartridge puller. If it’s still stiff, apply a small amount of penetrating oil (like WD-40) around the base where the cartridge meets the faucet body. Let it sit for a few minutes to loosen any corrosion or mineral build-up.
-
Pull the cartridge out: If the cartridge is turning but not coming out, you might need to wiggle it gently while pulling. If it’s stuck, try using a cartridge puller (available at most hardware stores) for a more secure grip.
-
Clean and lubricate: Once you get the cartridge out, clean the inside of the faucet and the cartridge itself. Apply a small amount of silicone lubricant to the o-rings, which will help reduce friction and prevent creaking.
-
Reassemble the faucet: Once everything is cleaned and lubricated, carefully reassemble the faucet in the reverse order. Test it to ensure the handle turns smoothly and quietly.
It’s great that you’re tackling this project yourself! With a bit of patience and the right tools, you should be able to fix the creaking faucet.
For more plumbing tips and DIY solutions, check out Plumbing 101.
I’m Chris Mayer, writing for Plumbing 101.
