Redoing a guest bathroom often uncovers old plumbing problems.
One common issue is a shut-off valve that will not fully close.
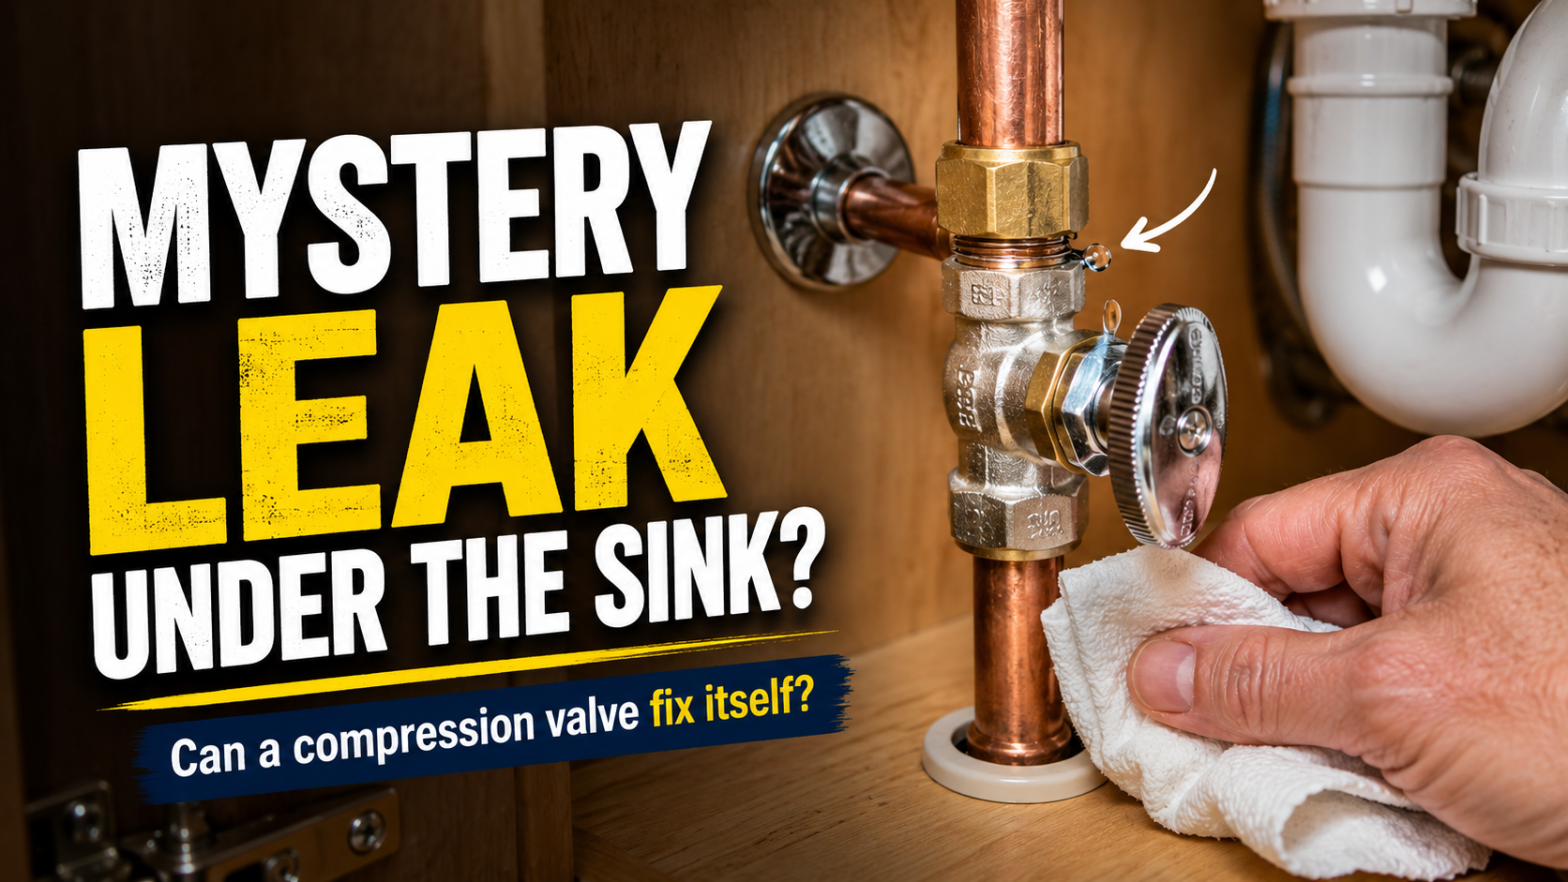
That was the problem under this bathroom sink.
The old valves were sweated onto copper pipe.
They were removed and replaced with new compression shut-off valves.
At first, everything looked simple.
The new valve was installed with thread sealant.
The compression nut was tightened with care.
Then a slow seep appeared behind the compression nut.
It was not dripping onto the floor.
But the pipe felt wet behind the valve.
That kind of leak can be frustrating.
It is small enough to question.
It is also wet enough to worry about.
Why Compression Valve Leaks Happen
A compression valve seals with a brass ring called a ferrule.
The ferrule squeezes tightly around the copper pipe.
That seal happens behind the nut.
The threads mostly pull the fitting together.
They are not the main water seal.
That is why thread sealant may not solve this leak.
It may slow a tiny seep for a short time.
But it does not repair damaged copper.
It also does not fix a scratched ferrule seat.
Old copper can have dents, solder marks, or grooves.
Those marks can stop the ferrule from sealing well.
You can learn more from this compression fitting guide.
Did The Leak Fix Itself?
A small seep can sometimes stop after the fitting settles.
The ferrule may finish seating after pressure is restored.
Moisture from the installation can also look like a leak.
But do not call it fixed too fast.
Dry the area fully.
Then wrap the pipe with dry toilet paper.
Check it after several hours.
Check the next day again.
Also, check after using the sink.
Water pressure changes can reveal a weak seal.
Question And Answer
Question: Can a compression valve leak solve itself if thread sealant is present?
Answer: It might stop seeping, but I would not trust thread sealant as the fix. A compression valve should seal at the ferrule, not at the threads. If the pipe stays fully dry for a few days, you can watch it closely. If any moisture returns, cut back to clean copper and reinstall the valve.
When To Replace The Copper Pipe
Replace the old copper if it has damage.
Look for scratches, flat spots, old solder, or deep stains.
Also, replace it if the ferrule was over-tightened.
A fresh pipe surface gives the best seal.
Use a clean, square cut.
Remove burrs from the copper pipe.
Push the valve on fully before tightening.
Then tighten the nut until snug.
A small extra turn is often enough.
Do not crush the copper pipe.
For copper pipe basics, see the Copper Tube Handbook.
Final Tip
A dry valve is good news.
Still, check it for several days.
Place a dry paper towel under the valve.
Any new spot means the leak is not gone.
In that case, fresh copper is the safer repair.
Small leaks can cause cabinet damage over time.
So this is not a place to guess.
When in doubt, rebuild the joint on clean pipe.
I’m Chris Mayer, writing for Plumbing 101.
